

Every morning, two things land in the same corner of the kitchen counter: the spent coffee filter and a small bowl of cracked shells. Both get carried out to the bin, both are praised online as free fertilizer, and both come wrapped in more folklore than almost anything else in the garden. Coffee grounds are called acidic. Eggshells are called a cure for blossom end rot. One of those claims is mostly wrong, and the other is only half right. What follows is what actually happens to each material in a working heap, how to use both without turning the pile into a sour, matted mess, and which kitchen-scrap habits are worth keeping.
Coffee Grounds Are a Green, Not a Fertilizer
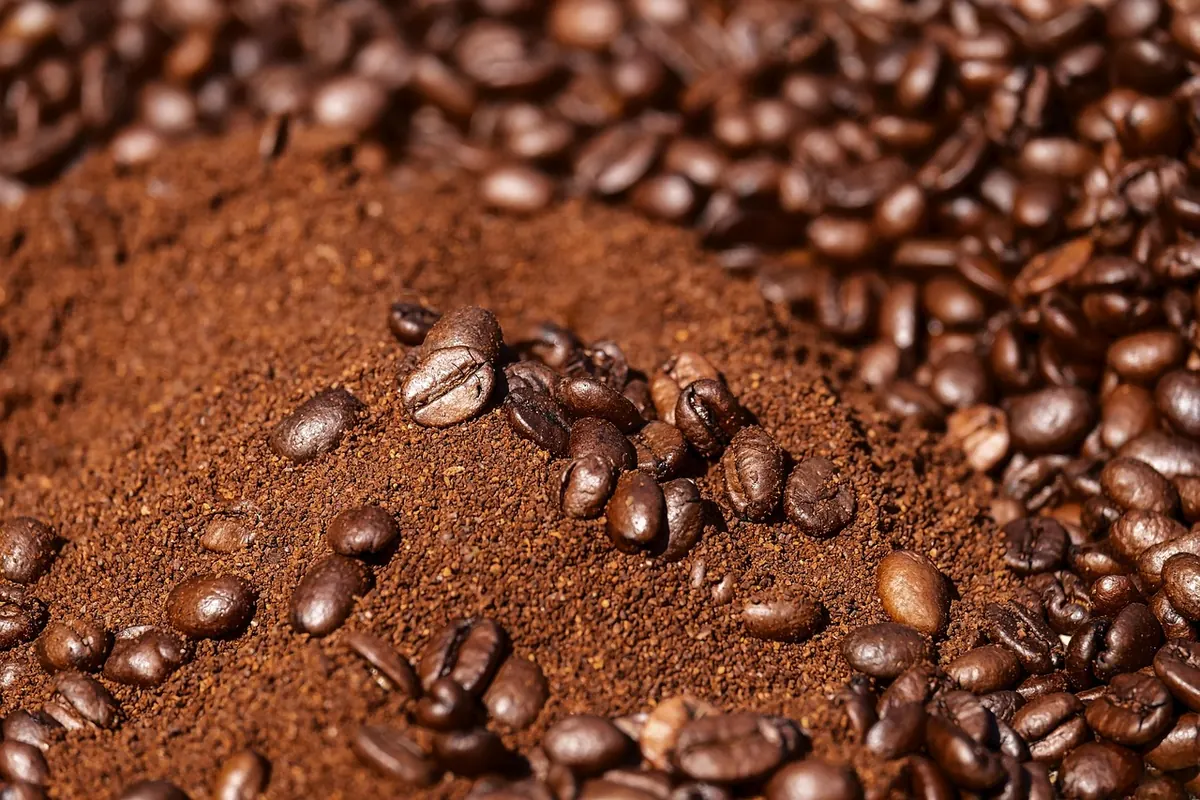
Spent grounds behave much like grass clippings: they are a moist, nitrogen-rich material that gives microbes the fuel to multiply and heat the pile. That is the useful part. Problems start when gardeners treat them as a complete plant food or dump them in a dense, wet block.
Fresh grounds are mildly acidic, which is where the reputation comes from. Once they are mixed with leaves, shredded cardboard or straw and the heap warms up, that acidity fades fast. Finished compost sits close to neutral regardless of how many filters went in. If your goal is reliably acid soil for blueberries or hydrangeas, coffee grounds are a weak and unpredictable tool; a soil test and the appropriate amendment will serve you better.
As a mulch, grounds work well if you keep the layer thin, roughly half an inch to an inch, and loosen them with a fork so they do not mat. A thick, unbroken carpet sheds water, grows mould and can sour the surface underneath. Scatter them around established perennials, then rake lightly. Keep them away from direct contact with tender stems.
In a worm bin they are welcome in moderation, mixed with bedding and vegetable scraps. Do not store them in a sealed bucket for weeks; the smell will tell you why.
Eggshells Are a Slow Calcium Bank
Shells are mostly calcium carbonate, the same mineral as garden lime, but in a form that breaks down very slowly. A whole shell half will still be recognisable a year later in an unturned pile. Crush them, and ideally grind them with a rolling pin or a blender, before they go in.
Rinse shells first if you can. Egg white residue is what attracts flies, ants and, in some gardens, rodents. A quick rinse and a dry on the counter takes seconds and keeps the bin tidier.
The most persistent eggshell claim is that they prevent blossom end rot in tomatoes. Blossom end rot is primarily a watering and calcium-uptake problem, and it usually appears when plants grow fast in dry soil and cannot move calcium to the fruit. Sprinkling crushed shells around a fruiting plant will not fix that in time, if at all. Water consistently, mulch to hold moisture, and use shells as a long-term soil amendment rather than an emergency remedy.
Eggshell "tea" is another favourite. Steeping shells in water for a few days gives you a very dilute calcium solution at best. It will not hurt, but do not expect it to rescue a struggling plant.
Myths Worth Retiring
- "Coffee grounds make compost too acidic." They start mildly acidic and finish neutral in a balanced pile.
- "Eggshells stop slugs." A coarse barrier may deter a few, but slugs cross crushed shells without trouble, especially after rain.
- "Shells cure blossom end rot." Watering and steady growth matter far more than the calcium in a shell.
- "Coffee grounds are a full fertilizer." They supply mainly nitrogen, with small amounts of other nutrients. Your tomatoes still need a balanced feed.
- "Anything that rots belongs in the bin." It rots eventually, but meat, fish, dairy and pet waste attract animals and carry risks a home heap cannot manage.
- "Citrus and onions kill the pile." In normal quantities they compost fine, though very heavy loads slow things down.
Build a Mix That Actually Heats Up
Both materials do their best work inside a balanced pile. Aim for roughly two to three parts dry, brown material by volume for every part green, wet material, and adjust by feel rather than by formula.
- Chop and crush. Halve vegetable chunks, shred cardboard, grind shells. Surface area is the difference between three weeks and three months.
- Layer, then mix. Alternate greens such as grounds and kitchen scraps with browns such as dry leaves, straw or torn paper, then turn the whole thing so the layers blend.
- Check moisture. Squeeze a handful. It should feel like a wrung-out sponge: damp, not dripping.
- Give it volume. A heap of about a cubic metre holds heat far better than a small bin, which tends to sit cool and slow.
Reading the heap
- Sour, slimy, smelling of ammonia: too many greens or too wet. Add browns, turn, and leave the lid off for a day.
- Dry and nothing happening: add water while turning, or pile more material together.
- Whole shells and intact grounds after months: the pile is too dry or too cold. Crush finer and turn more often.
Which Kitchen Scraps Earn Their Place
Coffee grounds and shells are a good start, but the rest of the bucket matters just as much.
- Yes: fruit and vegetable trimmings, chopped small; coffee grounds and paper filters, torn up; tea bags with the staple and plastic mesh removed; crushed shells; stale bread and plain pasta in moderation, buried in the centre.
- Sometimes: citrus peel, onion skins and cooked leftovers in small amounts, mixed well and buried deep; grass clippings in thin layers, never in a thick mat.
- No: meat, fish, bones, dairy, oily food in an open heap; dog and cat waste; diseased plants; weeds carrying seed heads; glossy or coated paper; and most "compostable" cutlery, which needs industrial conditions a garden bin cannot reach.
If You Do Not Have a Heap
Neither material needs a bin. Trench composting works well: dig a spade-deep trench between rows, tip in grounds and crushed shells with some kitchen scraps, cover with soil and move along the bed each week. Worms and soil life do the rest, and you can plant over the spot after a few weeks.
For a quicker fix, use grounds as a thin mulch under shrubs and mix crushed shells into the top few centimetres of soil around perennials. Neither will transform a bed on its own, but both feed the soil life that does the real work.
A Routine That Works
Keep a lidded jar by the sink for grounds and shells and empty it every two or three days, before it starts to ferment. Rinse the shells, dry them on a plate, and crush them whenever you have a spare minute. When you take the bucket out, add roughly twice as much brown material as green, turn the pile, and check the moisture with your hand.
Expect shells to linger for a season or two and grounds to disappear within weeks in a hot pile. Neither is a shortcut to a perfect garden, but used sensibly, in the right company and the right proportions, they turn a daily habit into steady, free fertility.
Photo: Couleur / Pixabay
Related posts
More stories you’ll love reading